
A water leak sensor is one of the cheapest ways to protect your home, because most water damage doesn’t start with a burst pipe. It starts with a slow drip under a sink, behind a fridge, or around a tired water heater, and nobody notices it for weeks. By the time you see a stain on the ceiling or smell mildew, the subfloor is already soaked.
That’s why knowing where to place a water leak sensor matters as much as which one you buy. A $25 sensor in the right spot can save you thousands. The same sensor on the wrong shelf does nothing. According to the Insurance Information Institute (Triple-I), about 1 in 60 insured homes files a water damage or freezing claim every year, and the average claim is around $12,514.
This water leak sensor guide explains how they work, what to look for when buying one, the 12 best places to put them, how many you actually need, which sensor type fits each spot, and the placement mistakes that make sensors miss leaks.
Key Takeaways
- Place every sensor at the lowest point where water would pool first, with its contacts touching the floor.
- Start with the highest-risk spots: water heater, washing machine, kitchen sink, dishwasher, and sump pump.
- Most homes need 5 to 10 sensors for solid coverage.
- Pair sensors with a smart shutoff valve so the water turns off automatically, even when you’re away.
Table of Contents
- What Is a Water Leak Sensor and How Does It Work?
- How to Choose the Best Water Leak Sensor
- 12 Best Places to Put Water Leak Sensors
- Placement Rules That Make Sensors Actually Work
- How Many Water Leak Sensors Do You Need?
- Spot Sensors vs Smart Shutoff Valves
- Smart Home Automations for Leak Alerts
- Common Placement Mistakes to Avoid
- FAQ
What Is a Water Leak Sensor and How Does It Work?
A water leak sensor is a small device with two or more metal contacts on the bottom. When water bridges those contacts, the sensor completes a circuit and sends an alert to your phone, sounds a local alarm, or triggers an automation such as closing a smart water valve.
Because they only react when water physically touches them, placement is everything. A sensor six inches away from where the water collects may stay silent while your cabinet floor soaks through.
There are three main types you’ll see:
- Spot sensors: small pucks that sit on the floor. Cheap, easy, and right for most locations.
- Rope or cable sensors: a sensing cable that detects water anywhere along its length. Ideal around water heaters, HVAC units, and long basement walls.
- Smart shutoff valves and flow monitors: devices on your main water line that can close the valve automatically when a sensor fires or when they detect abnormal flow.
Most leak sensors connect over Wi-Fi, Zigbee, Z-Wave, Thread, or a long-range radio like LoRa. If you already run a hub, pick sensors that match it (our Matter vs Wi-Fi comparison explains the differences). Our guide to the best smart hub for home explains which protocols work best, and if you want to skip the hub entirely, read how to build a smart home without a hub.
How to Choose the Best Water Leak Sensor
Before you think about placement, make sure the water leak sensor you buy has the features that matter. Here’s what to compare:
| Feature | Why It Matters | What to Look For |
|---|---|---|
| Connectivity | Decides range, battery life and whether you need a hub | Wi-Fi for 1–3 sensors; Zigbee, Z-Wave, Thread or LoRa for basements and larger homes |
| Built-in siren | Warns people at home even if the internet is down | A loud local alarm (around 85 dB or more) |
| Temperature alerts | Warns you before pipes freeze and burst | Low-temperature notifications in the app |
| Battery life | A dead sensor gives no warning | 1–2 years or more, with low-battery alerts |
| Smart home support | Lets the sensor trigger lights, sirens or a shutoff valve | Works with Alexa, Google Home, Apple Home, SmartThings or Home Assistant |
| Probe or cable option | Reaches tight spots behind appliances | Remote probe or rope sensor add-on |
| Subscription | Adds ongoing cost | Free app alerts with no monthly fee |
For most homes, a battery-powered spot sensor with a built-in siren, temperature alerts and free app notifications is the best starting point. If you already use a smart hub, choose a water leak sensor on the same protocol so everything works together.
12 Best Places to Put Water Leak Sensors
Here are the 12 spots to cover, room by room. The water heater, washing machine, kitchen sink, dishwasher and sump pump are the highest-risk areas, so if you’re on a budget, cover those first.
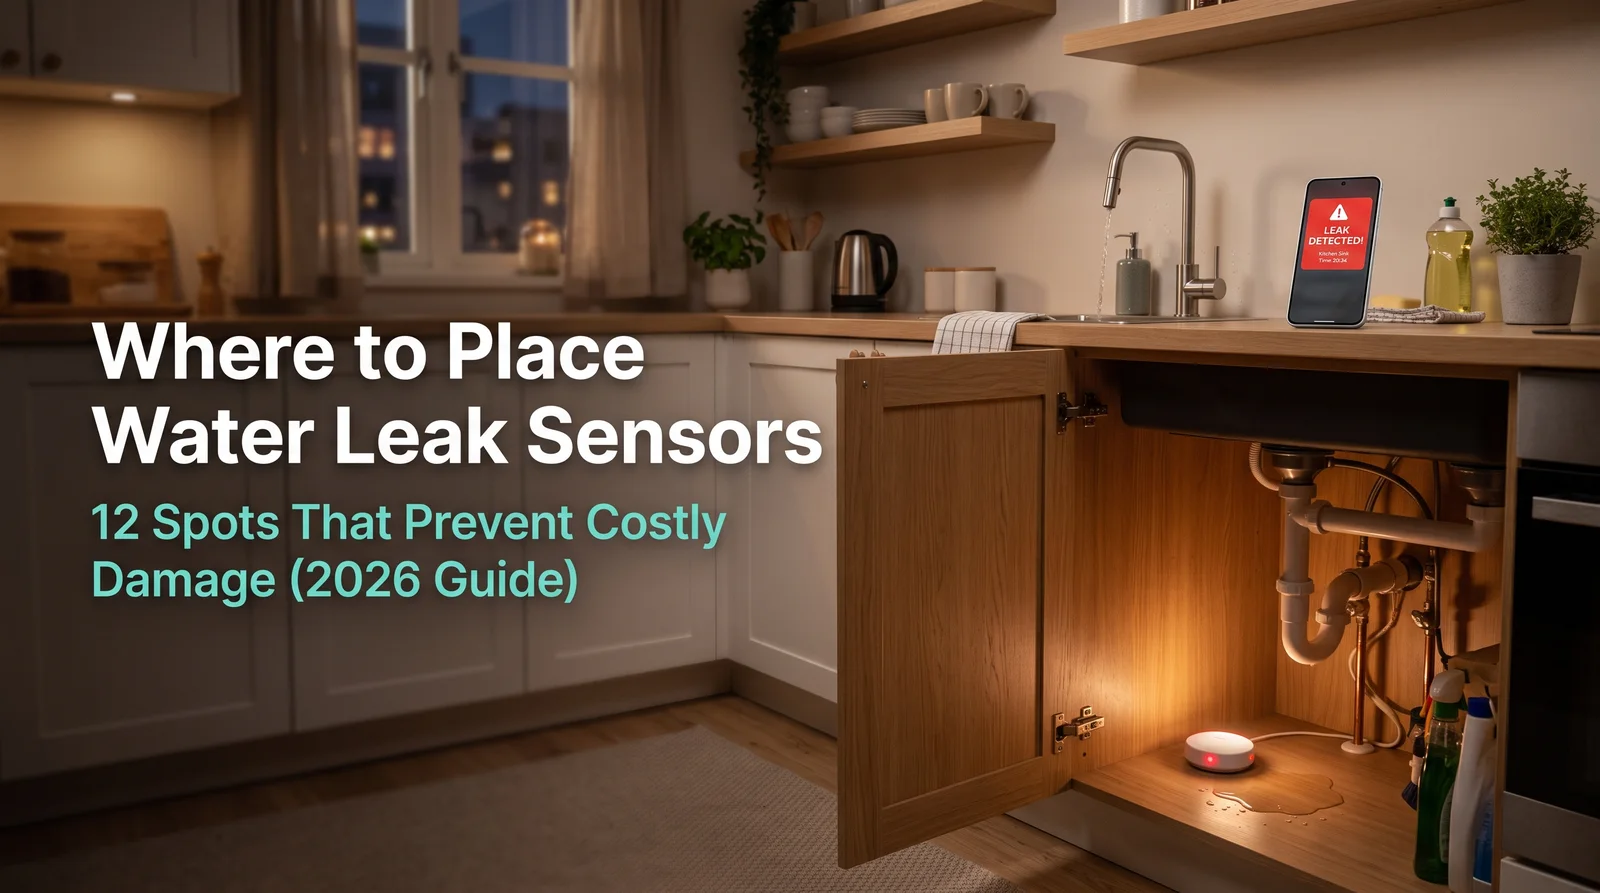
1. Under the Kitchen Sink
The sink cabinet hides supply lines, a drain trap, a garbage disposal, and often a water filter. Any of these can loosen and drip for weeks. Place the sensor on the cabinet floor directly under the drain trap, toward the back where water tends to run. If you store cleaning supplies there, keep a clear spot so bottles don’t sit on the sensor.
2. Behind or Beside the Dishwasher
Dishwasher leaks usually come from the supply line, the drain hose, or a worn door gasket, and the water spreads under the unit where you can’t see it. Slide a thin spot sensor under the front kick plate or place it in the sink cabinet next to where the dishwasher hoses connect. A low-profile sensor or a short rope sensor works best here.
3. Behind the Refrigerator (Ice Maker Line)
Refrigerators with ice makers or water dispensers use a thin supply line that can crack or pop loose, especially after you pull the fridge out to clean. Put a sensor on the floor behind the fridge, near the water valve connection. Check it every time the fridge is moved.
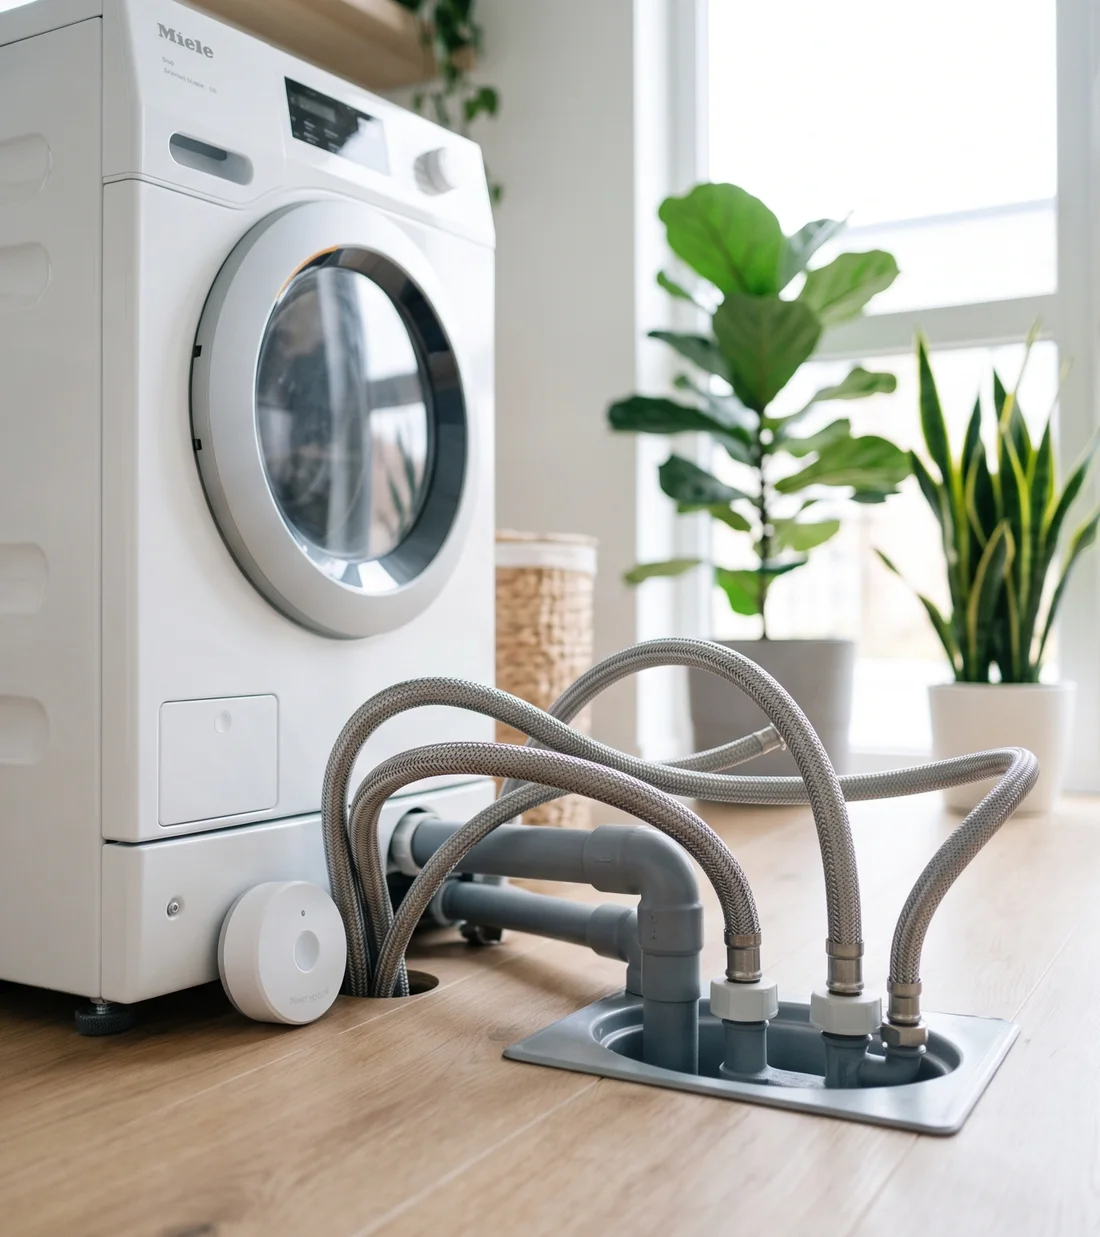
4. Beside the Washing Machine
Washing machine hoses are under constant pressure, and a burst hose can release a lot of water fast. Place the sensor on the floor at the back corner of the washer, near where the hoses connect to the wall. If your washer sits in a drain pan, put the sensor inside the pan. Replacing rubber hoses with braided stainless steel lines is a cheap upgrade worth doing at the same time.
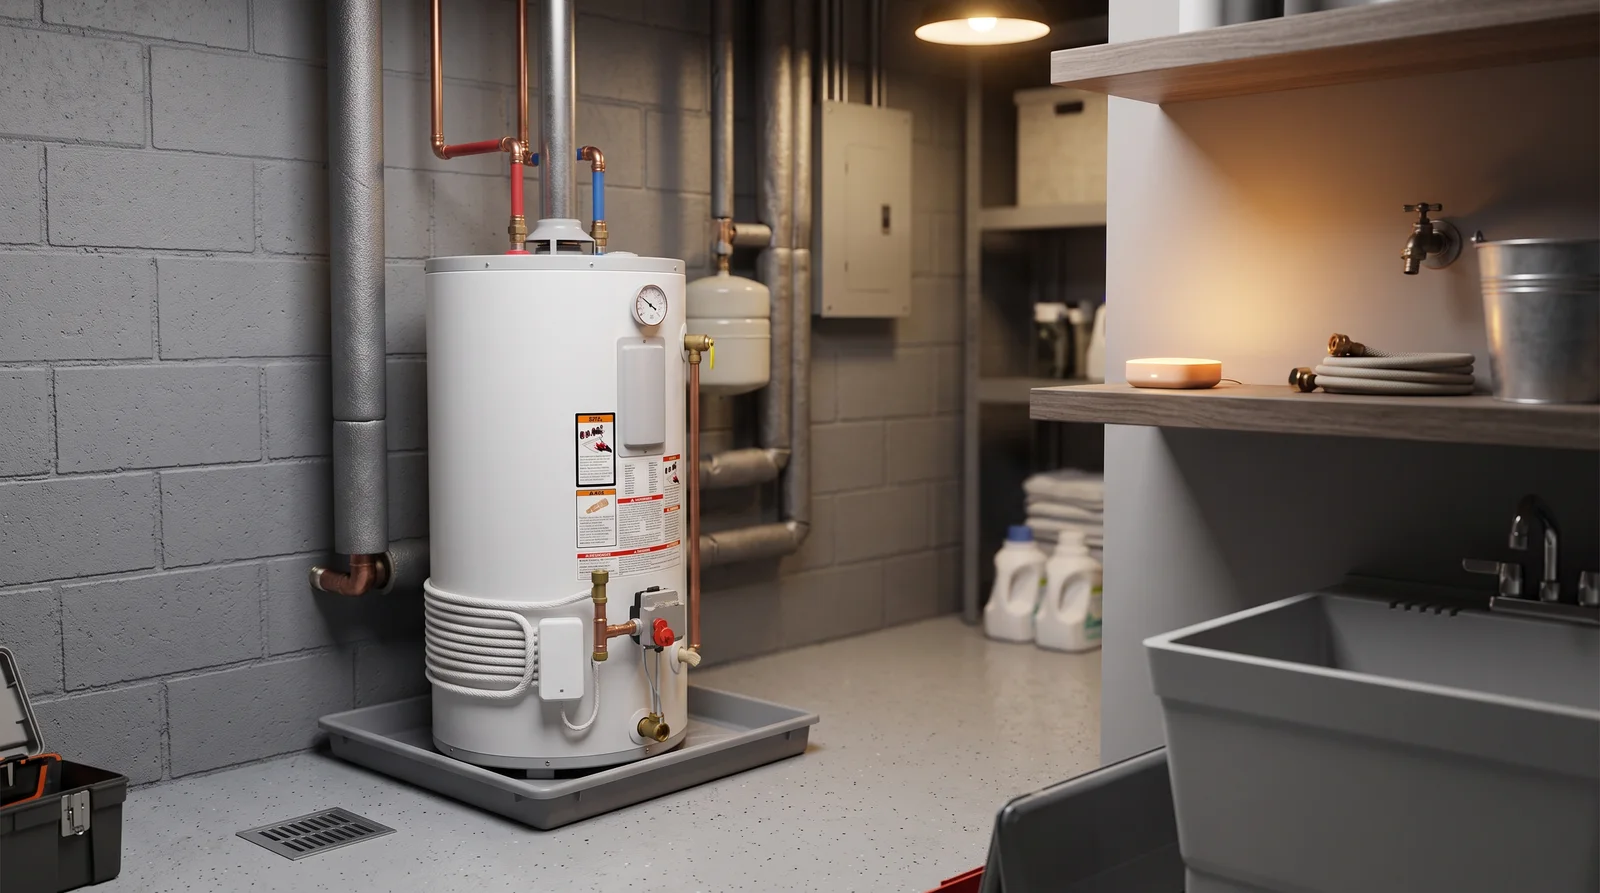
5. Under the Water Heater (Highest Risk)
Tank water heaters eventually corrode, and when they fail they can empty the whole tank onto your floor. The temperature and pressure relief valve can also drip. Place a sensor in the drain pan under the tank, or wrap a rope sensor around the base so it catches water from any side. Tankless units should get a sensor directly below their connections.
6. At the Base of Each Toilet
Toilets leak from the supply line, the fill valve, or a failed wax ring under the bowl. A failed wax ring is sneaky because the water soaks into the subfloor instead of pooling. Put the sensor on the floor behind the toilet, close to the supply valve and as near to the base as possible.
7. Inside the Bathroom Vanity
Like the kitchen sink, the vanity cabinet hides supply lines and a drain trap. It’s easy to forget because you rarely open it. Place a sensor directly under the P-trap. In homes with a second-floor bathroom, this sensor can save a ceiling downstairs.
8. Next to the Sump Pump (Highest Risk)
If you have a basement with a sump pump, a pump failure during heavy rain is one of the fastest ways to flood a home. Place a sensor on the floor beside the sump pit, slightly above the normal water level, so it only triggers if the pit overflows. Some sensors also come with a probe you can mount inside the pit to warn you before it spills over.
9. Under the HVAC Condensate Pan
Air conditioners and high-efficiency furnaces produce condensation that drains through a small line. When that line clogs with algae or dust, the pan overflows. Put a sensor in or beside the drain pan and one on the floor next to the unit. This matters even more if your air handler sits in a closet or attic above living space.
10. At the Main Water Shutoff
The main shutoff valve and the pipes around the water meter are under full street pressure. Place a sensor on the floor below the valve. This is also the best location for a smart shutoff valve, so the sensor and valve can work together.
11. Beside the Water Softener or Filtration System
Water softeners and whole-house filters have fittings, bypass valves, and drain lines that can fail over time. The brine tank can also overflow. Put a sensor on the floor between the softener and the brine tank.
12. Attic Air Handlers and Pipes on Exterior Walls
Pipes that run along exterior walls, in crawl spaces, or through an unheated garage are the most likely to freeze and burst in winter. Many leak sensors include a built-in temperature sensor, so place one near these pipes and turn on low-temperature alerts. If your water heater or air handler is in the attic, that spot needs a sensor too, because a leak there comes straight through the ceiling.
Placement Rules That Make Sensors Actually Work
Getting the room right is only half the job. Follow these rules for each sensor:
- Find the lowest point. Water follows gravity and floor slope. Pour a small cup of water near the appliance and watch where it runs, then place the sensor there.
- Keep the contacts on the floor. Sensors that sit on a shelf, a mat, or a bottle won’t detect anything until the water is already deep.
- Stay close to the source. Aim for a few inches from the fitting, drain, or appliance, not across the room.
- Check the signal. Basements, garages, and cabinets block Wi-Fi, so a solid home network setup helps. Test the connection in the app, or choose Zigbee, Z-Wave, Thread, or long-range sensors that handle distance better.
- Test after installing. Touch each sensor with a damp paper towel and confirm the alert arrives on your phone.
- Label and log. Name each sensor by location in the app, like “Kitchen Sink” or “Water Heater”, so you know exactly where to run when an alert comes in.
How Many Water Leak Sensors Do You Need?
The simple rule is one sensor per water source. Here’s a practical starting point based on home size:
| Home Type | Suggested Sensors | Where to Start |
|---|---|---|
| Studio or small apartment | 3 to 4 | Kitchen sink, bathroom vanity, toilet, washer (if in-unit) |
| 2 to 3 bedroom home | 5 to 8 | Add water heater, dishwasher, fridge, and a second bathroom |
| Larger home with basement | 8 to 12+ | Add sump pump, HVAC, main shutoff, softener, and exterior-wall pipes |
If you’re a renter, battery-powered spot sensors are perfect because they need no drilling or plumbing work, and you can take them with you when you move.
Spot Sensors vs Smart Shutoff Valves: When to Upgrade
A sensor only tells you there’s a problem. If you’re at work or on vacation, the water keeps running until someone turns it off. That’s where a smart shutoff valve comes in.
- Stick with sensors only if you rent, live in a small apartment, or are almost always home.
- Add a shutoff valve if you travel often, own a home with a basement, have a second floor bathroom, or have a vacation property.
- Consider a flow monitor if you want to catch hidden leaks inside walls. These watch water usage patterns and can flag a leak even when no sensor gets wet.
Some insurers offer discounts for installing water leak detection or automatic shutoff devices, so it’s worth calling your provider before you buy. Motorized valves that clamp onto an existing quarter-turn valve are usually DIY-friendly, while inline valves and flow monitors typically need a plumber.
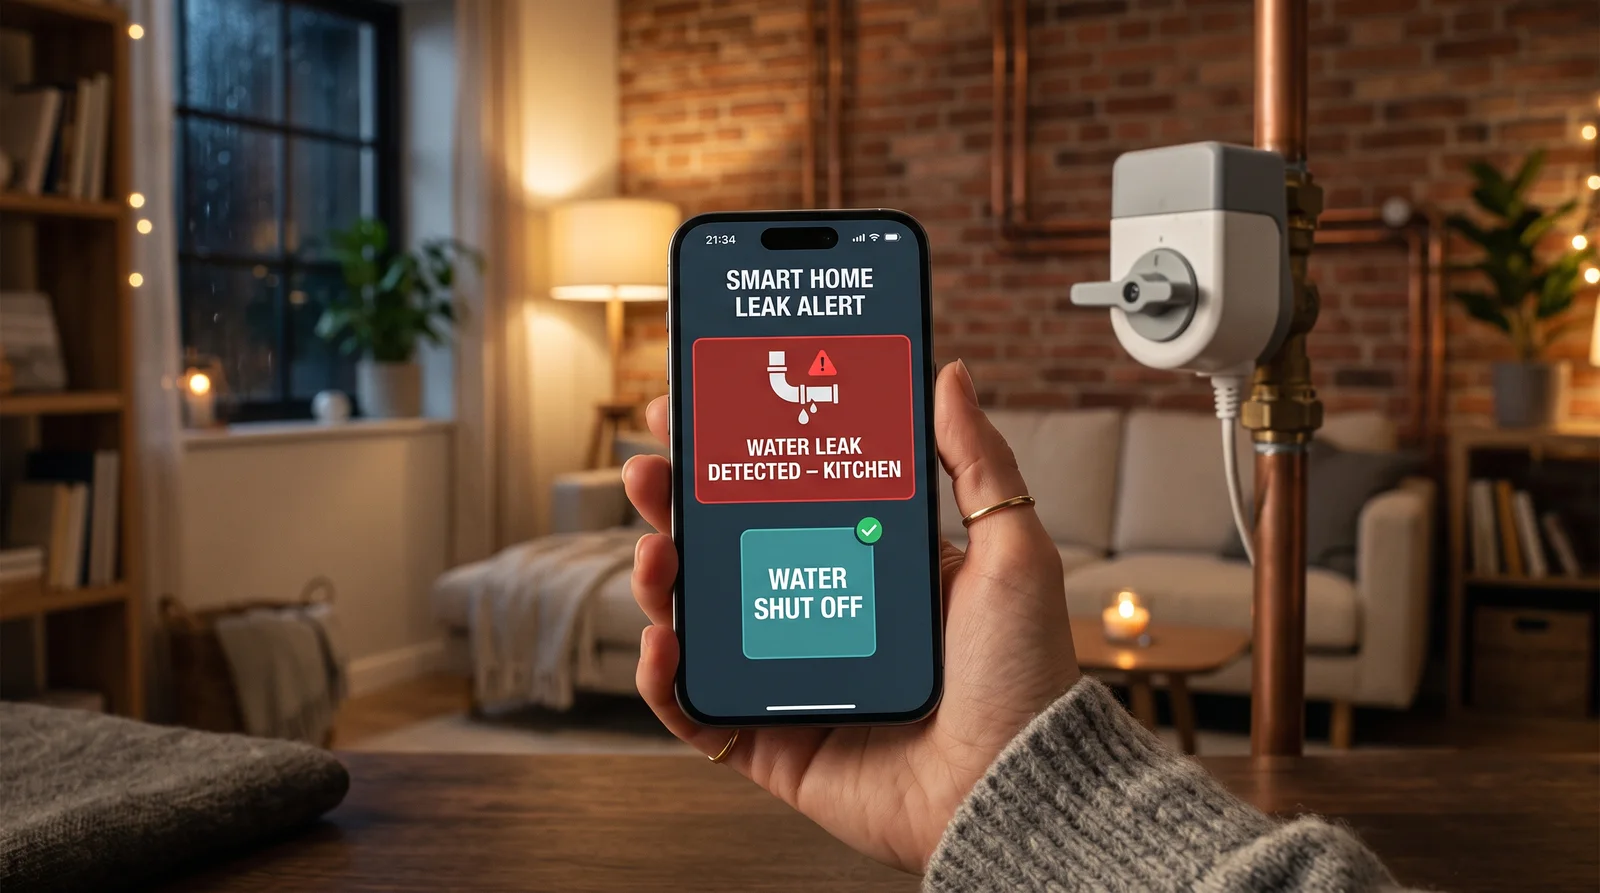
Smart Home Automations for Leak Alerts
Once your sensors are connected to Alexa, Google Home, Apple Home, SmartThings, or Home Assistant, you can turn a simple alert into a full response:
- Close the main valve automatically when any sensor detects water.
- Flash smart lights red and announce the leak location on your smart speakers.
- Cut power to the washer or dishwasher using a smart plug to stop the cycle. See our picks for the best smart plugs.
- Notify every family member, not just the account owner.
- Send freeze warnings when a sensor near exterior pipes drops below about 40°F (4°C).
For more ideas like this, read our guide to home automation for safety, and pair your leak sensors with smart smoke detectors for complete protection. You can keep an eye on everything remotely with one of the best home monitoring apps.
Common Placement Mistakes to Avoid
- Placing sensors where you mop. Kitchen and bathroom floors get wet during cleaning, which causes false alarms and makes people ignore real ones. Keep sensors inside cabinets or behind appliances.
- Forgetting the water heater. It’s one of the biggest leak risks in any home, yet it’s often left out of starter kits.
- Relying on Wi-Fi in weak-signal areas. A sensor that can’t connect can’t warn you. Test the signal first.
- Ignoring batteries. Most sensors last one to two years, but check the battery level in the app every six months.
- Muting notifications. Set leak alerts as critical or high-priority notifications on your phone so they break through Do Not Disturb.
- Having alerts with no plan. Make sure everyone in the home knows where the main water shutoff is and how to close it.
Frequently Asked Questions
What does a water leak sensor do?
A water leak sensor detects water on the floor using metal contacts. When water touches them, it sends an alert to your phone, sounds a built-in alarm, and can trigger automations such as shutting off your main water valve.
Where is the best place to put a water leak sensor?
The best place is on the floor at the lowest point next to a water source, such as under the kitchen sink, beside the washing machine, or in the drain pan under your water heater. The metal contacts should touch the floor so the sensor detects water as soon as it starts to pool.
How many water leak sensors do I need?
Plan for one sensor per water source. Small apartments usually need 3 to 4, a typical 2 to 3 bedroom home needs 5 to 8, and larger homes with basements often need 8 to 12 or more.
Should water leak sensors go on the floor or wall?
Most spot sensors belong on the floor, because that’s where water collects first. Some models have a wall-mounted base with a probe or cable that runs to the floor, which is useful behind appliances or near a sump pit.
Do water leak sensors work without Wi-Fi?
Many sensors have a built-in siren that sounds locally even without an internet connection. To get phone alerts or trigger automations, they need Wi-Fi or a hub using Zigbee, Z-Wave, Thread, or a long-range radio.
Are water leak sensors worth it?
For most homes, yes. Sensors are inexpensive, and with average water damage claims above $12,000, catching even one leak early can pay for a full set many times over.
Final Thoughts
A water leak sensor is one of the cheapest and most useful smart home upgrades you can make, and water leak sensors work best when you cover every water source. Start with the five highest-risk spots: water heater, washing machine, kitchen sink, dishwasher, and sump pump. Then expand to bathrooms, the fridge, HVAC, and exterior-wall pipes. Place each sensor at the lowest point, test it, and connect it to a shutoff valve if you can. A few minutes of setup today can prevent weeks of drying fans and a very expensive repair bill later.
Sources: Insurance Information Institute (Triple-I) homeowners claims data; U.S. EPA WaterSense, which estimates household leaks can waste nearly 10,000 gallons of water per year.