The Best Fluffy Pancakes recipe you will fall in love with. Full of tips and tricks to help you make the best pancakes.
We’ve all felt it—you’re on the road to the airport when the doubt rolls in: Wait… did I lock the door? That little worry has caused countless U-turns. By 2026, though, you only deal with that if you want to.
Smart locks are better now, but they’re not as simple as the ads pretend. A good install still depends on how your door fits, how your network behaves, and how Matter-over-Thread works with the rest of your setup.
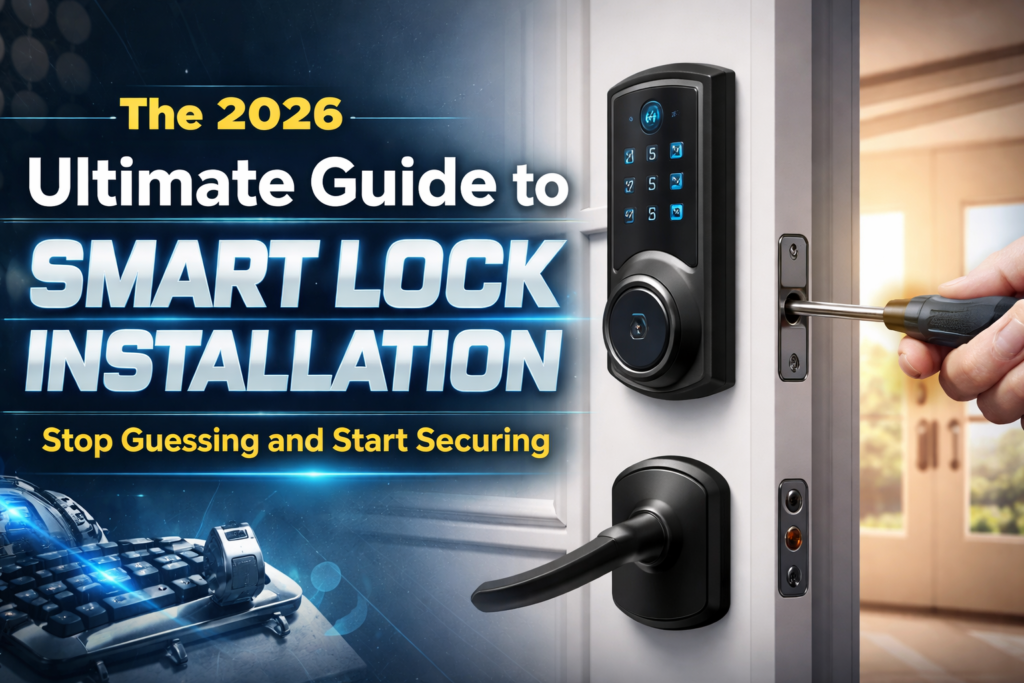
This guide gets past the marketing talk and focuses on the real steps to getting a smart lock working the right way, without paying a locksmith to bail you out.
The 2026 Landscape: Choosing the Right Hardware
Before a single screw is turned, a choice must be made. Not all smart locks are created equal, and choosing the wrong “brain” for a front door is the fastest way to ensure a month of connectivity drop-outs.
The Deadbolt Replacement (The Gold Standard)
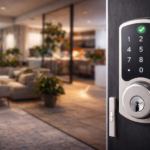
These are full-system swaps. One removes the old mechanical lock fully and puts in a motor-driven unit. Several well-known smart-lock producers hold this sector through strong build focus and solid software dependability. These suit homeowners seeking a clean, unified look plus top-level security grades (look for ANSI Grade 1).
The Retrofit (The Renter’s Savior)
Products of this type don’t touch the exterior of the door. They only swap out the inner thumb-turn. This is the “stealth” route. From the street, the door looks the same, and the original key still functions. For those living in overseen rentals or older homes with strict rules, this ends up being the only sensible choice.
Lever and Combo Units
Commonly found on side doors or home offices, these replace the handle and the lock simultaneously. They are visually “busy” but offer the most convenience for high-traffic areas where a deadbolt might be overkill.
The “Matter” Factor
Thread locks don’t stay connected all the time. They talk through a mesh network, sending tiny bursts of data only when needed. That keeps them fast, reliable, secure, and lets the batteries last for up to two years.
| Lock Type | Skill Level | Best For | Typical Install Time |
|---|---|---|---|
| Full Deadbolt | Intermediate | Maximum Security | 45–60 Minutes |
| Retrofit/Add-on | Beginner | Renters / Apartments | 15–20 Minutes |
| Lever Handle | Intermediate | Interior/Side Doors | 40 Minutes |
| Mortise Smart Lock | Expert | Modern/Luxury Doors | 2+ Hours |
The Pre-Install “Reality Check

Most DIYers fail before they even open the box because they assume every door is a perfect rectangle. Doors warp. Houses settle. Wood expands in the humidity of July and shrinks in the dry cold of January.
The “Jiggle” Test
Before removing the old lock, one should close the door and try to lock it. If the door has to be pushed, pulled, or lifted to get the deadbolt to slide home, a smart lock will fail. A motor cannot “pull” a door into alignment; it will simply jam, beep aggressively, and drain the battery in forty-eight hours trying to overcome the friction.
Measuring the Backset
This is the most common point of failure. The backset is the distance from the edge of the door to the center of the hole bored into the wood. In the United States, this is almost always $2\frac{3}{8}$ inches or $2\frac{3}{4}$ inches. Most modern locks have an adjustable latch, but confirming this measurement prevents the “latch-too-short” nightmare mid-install.
The Tool Kit
A professional-grade installation requires more than just a butter knife from the kitchen drawer. One should gather:
- A Phillips-head screwdriver (manual is better than a drill to avoid stripping screws).
- A Tape measure for precision.
- A Wood chisel (just in case the new strike plate is slightly larger than the old one).
- A Power drill with a $\frac{1}{8}$-inch bit for pilot holes.
- Lithium AA batteries (Avoid alkaline; they leak and perform poorly in the cold).
Step-by-Step Installation: The Human Approach
Step 1: Taking Off the Old Stuff
Start by pulling out the two long screws on the inside of the deadbolt. Once those are out, the whole thing should come apart pretty easily. If it’s an older lock and the paint has basically glued the plate in place, just score around the edge with a utility knife. It saves you from peeling half the door paint off — been there, not fun.
Pro tip from experience:
Toss the old hardware in a labeled bag. If the new lock ever needs warranty work, you’ll be glad you kept it. Otherwise your door might be stuck half-installed for a couple of days.
Step 2: The Latch and That Little “UP” Mark
Slide the new latch into the edge of the door. You’ll notice a little arrow on it that points “UP.” It’s easy to overlook — most people do at least once — but putting it in upside down will make the lock work strangely. Before you fasten the screws, make sure the bolt is completely pulled back.
Step 3: Running the Ribbon Cable
Smart locks use a thin ribbon cable to connect the outside keypad to the inside motor. Handle this thing gently — it’s the one part that doesn’t forgive mistakes. Route it under the latch bolt. If it gets pinched between parts during assembly, the lock might run for a week and then suddenly quit once the wire finally snaps.
Step 4: Mounting Plate and Finding the Sweet Spot
The interior mounting plate is what holds everything together. Tighten the screws by hand, not with a drill. Too much pressure can bow the door just enough to make the motor struggle. You want it firm but not crushed — think “snug like tightening sunglasses,” not “torque wrench.”
Step 5: Getting the Tailpiece Lined Up
The tailpiece is that flat little metal bar connecting the thumb-turn to the motor. Getting it lined up can be a bit fiddly — honestly, it sometimes feels like trying to fit a key into a lock in the dark. If it doesn’t slip in with a clean click, don’t muscle it. Just adjust the outside keypad a bit until it settles into place on its own.
The “Security Gap”: The Strike Plate Upgrade
Here is the secret locksmiths know: A $300 smart lock is useless if it’s held into the frame by half-inch screws. Most standard strike plates—the metal bit on the door frame—are decorative at best.
To truly secure a home, one should discard the short screws included in the box and replace them with 3-inch hardened steel screws. These should pass through the door jamb and deep into the structural 2×4 studs of the house. This turns a “convenience upgrade” into a “forced entry deterrent.”
Software Configuration and the 2.4 GHz Trap
Once the mechanical work is done, the digital work begins.
The Network Sync
Even in 2026, most smart locks still use the 2.4 GHz Wi-Fi band. It simply reaches farther and gets through walls better than 5 or 6 GHz. One thing that trips people up during setup is having their phone connected to a 5 GHz network — the lock doesn’t show up because it can’t talk on that band. Switching your phone over to 2.4 GHz for a minute usually clears up most connection issues.
Firmware Updates: The First Task
The very first thing a user should do after pairing is check for firmware updates. Manufacturers frequently release “Day 1” patches that fix motor calibration issues or security vulnerabilities discovered after the unit left the factory.
Calibration
The lock will ask to “calibrate.” This involves the motor extending and retracting the bolt several times to “learn” where the frame is. During this process, the door must be closed. If the lock thinks “Fully Extended” is only halfway because it hit a misaligned strike plate, it will never show as “Secure” in the app.
Troubleshooting the Common “Ghost” Issues
“The Motor is Screaming”
If the lock makes a high-pitched grinding sound, it is struggling. This is almost always due to friction. One should check if the bolt is rubbing against the strike plate. A quick fix? Rubbing a little dry graphite lubricant (not WD-40) on the bolt.
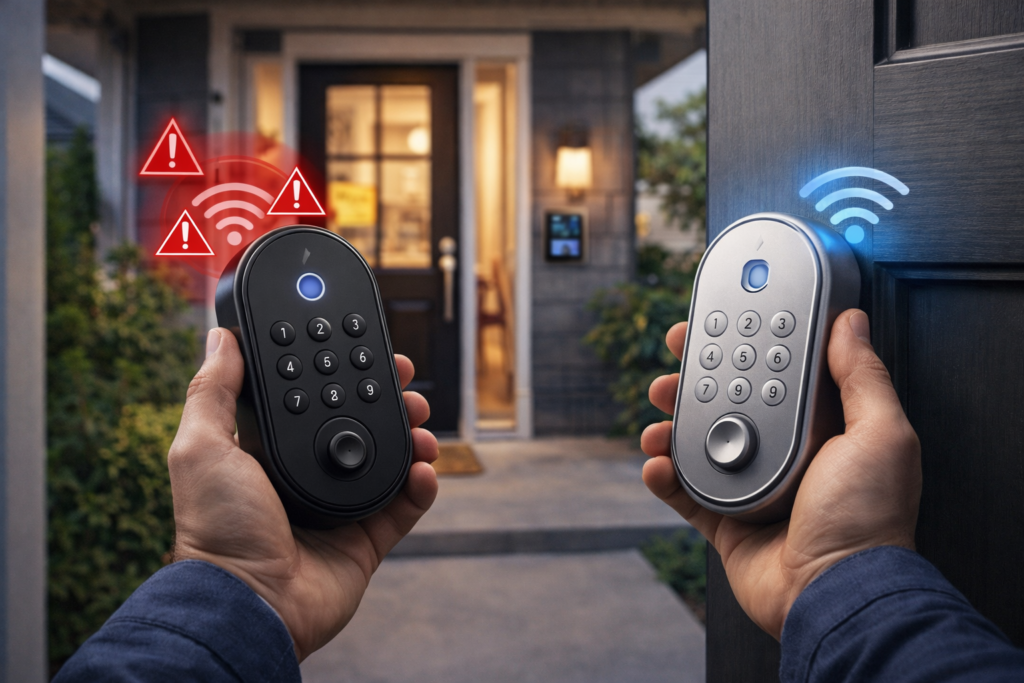
“The App Says Offline”
In 2026, this is often a “Node” issue. If using a Matter-over-Thread setup, the lock needs a Thread Border Router (like an Apple HomePod, Google Nest Hub, or Amazon Echo) within a reasonable distance. If the lock is at the front of a large brick house and the hub is in the basement, the connection will be “flaky.”
“The Battery Died in Two Weeks”
This is rarely a bad battery. It is usually a “stuck” signal. If the lock is constantly searching for a Wi-Fi signal it can’t find, it will burn through power. Improving the signal strength or switching to a Thread-based hub is the permanent solution.
The Human Element: Security Habits
A smart lock is a tool, not a bodyguard. To maximize its value, certain habits must be formed:
- The 2-Minute Auto-Lock: Set the lock to automatically engage after two minutes. This handles the “did I lock the door?” anxiety permanently.
- Unique Guest Codes: Never give the “Master Code” to a contractor or a neighbor. Create a temporary code that expires.
- Two-Factor Authentication (2FA): If someone hacks a primary email account, they shouldn’t be able to unlock the front door. 2FA on the lock’s app is non-negotiable.
- The “Jump-Start” Knowledge: Many 2026 models have two metal contacts at the bottom. If the battery dies completely, one can hold a 9V battery to these contacts to give the lock enough “juice” to enter a code and get inside.
FAQs
Q. Can a smart lock go on an older or slightly warped door?
Yes, but you’ll need to fix the door first. If you’ve ever had to shove the door with your shoulder or lift the handle just to get it to lock, a smart lock won’t survive long. The motor will stall, drain the batteries, or throw constant “jammed” errors. The real solution is simple: adjust the hinges or clean up the strike plate so the bolt glides in without any fight. If you struggle to turn the key, a tiny motor definitely will.
Q. What if the Wi-Fi drops or the power goes out?
You won’t get locked out. The lock stores your PIN codes inside the device, not online. The keypad and physical key still work. What you do lose is anything remote—no app control, no alerts, no logs—until the internet comes back.
Q. How are 2026 Matter locks different from the older smart locks?
Modern Matter-over-Thread locks don’t talk directly to your router anymore. Instead, they connect through a Border Router, like a smart speaker or hub. This creates a low-power mesh that reacts faster and doesn’t chew through batteries the way old Wi-Fi models did. A good Matter lock can now last well over a year on one set of batteries.
Q. Do smart locks work in harsh weather?
Rain and dust aren’t a big deal. Extreme cold is. Alkaline batteries lose power below 0°F, so in winter climates, lithium AAs are the safer option.
Q. Can someone hack a smart lock from outside?
It’s unlikely. Modern locks use strong encryption. The real risk is weak or predictable passwords, so use solid codes and enable two-factor authentication.
Wrapping It Up
Getting a smart lock in place can take a bit of patience. Older doors might need a quick adjustment, and the tech can take a moment to fall into line. But once everything is working the way it should, the upgrade proves itself quickly. You end up with a front door you don’t have to worry about, whether you’re out on a run or sitting in traffic while a delivery arrives.
With a few basic checks and the current 2026 standards, you can take a regular door and give it the convenience and reliability expected in a modern home..